Why a framework beats guesswork
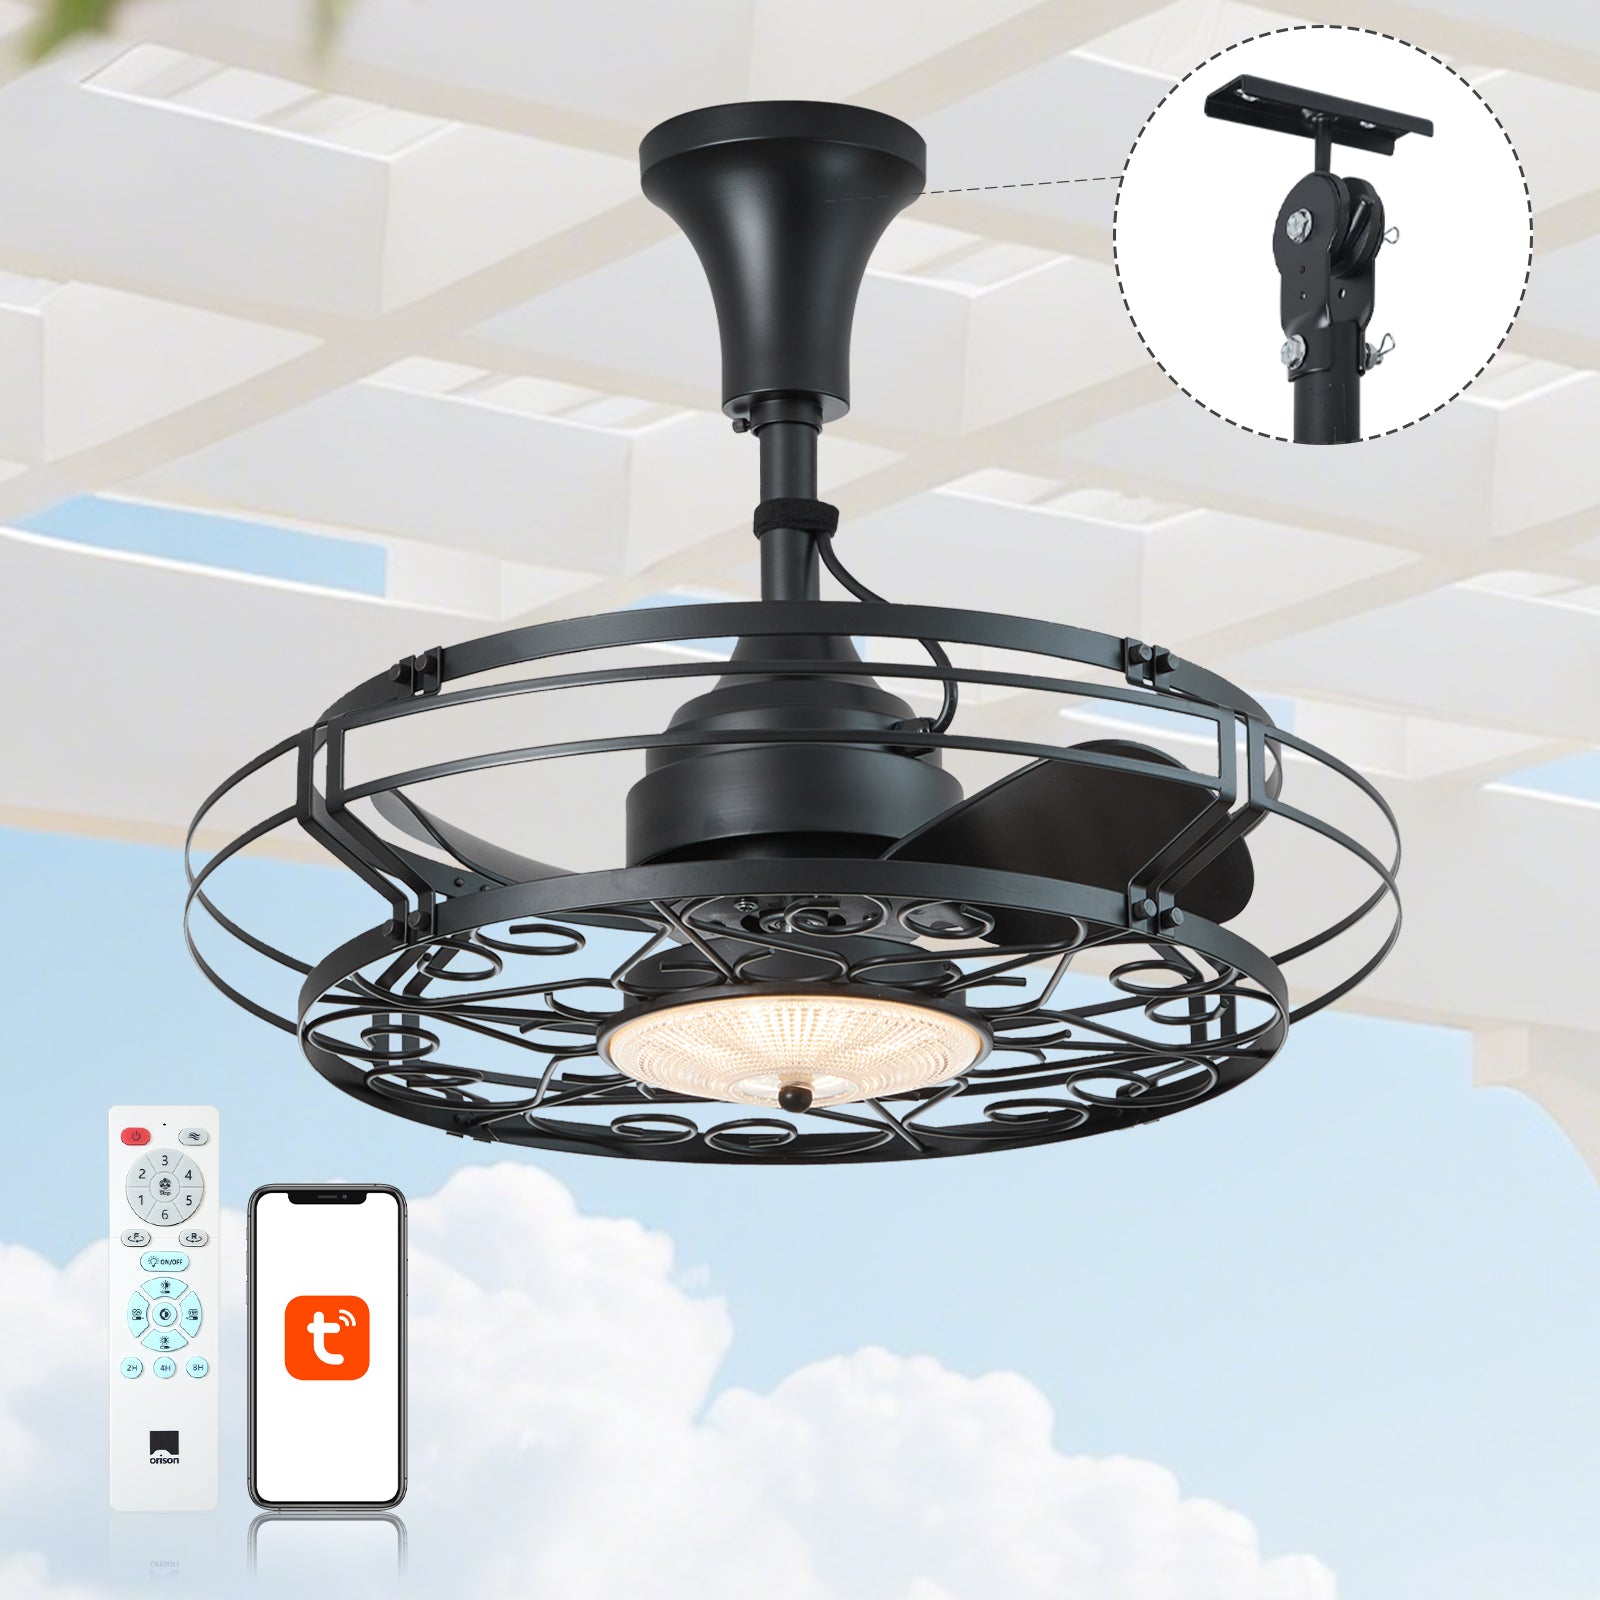
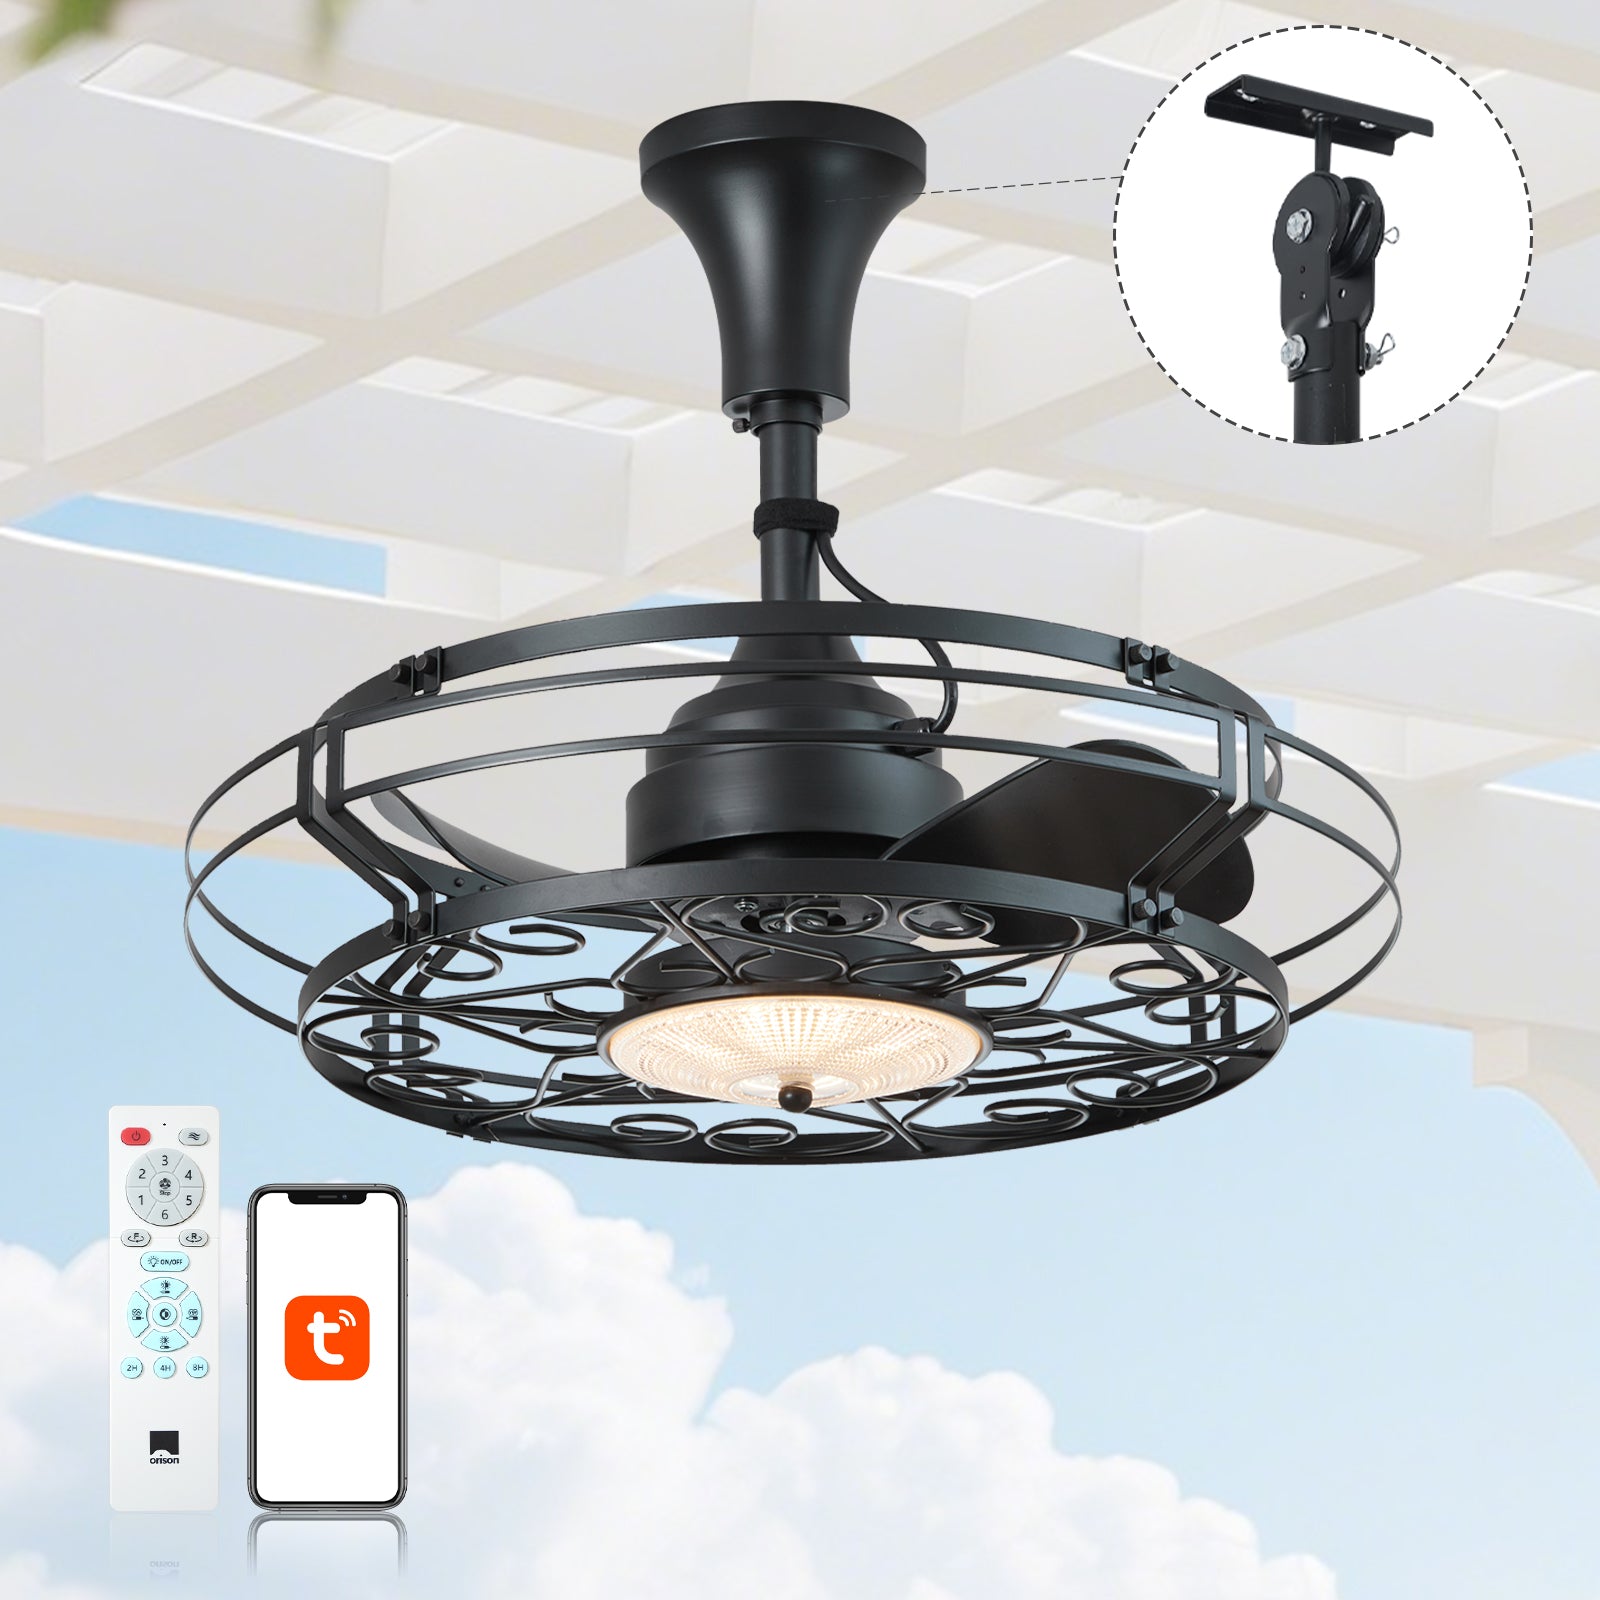
Start with a simple, repeatable framework and you’ll avoid emotional buys and wasted installs. This piece lays out a step-by-step approach to audit indoor/outdoor air quality, identify comfort gaps, and select the right hardware — from ventilation to an intelligent gazebo fan with light. If you’re improving a porch or pergola, consider options like outdoor patio ceiling fans early in the process so you size cooling and airflow needs before shopping. The framework keeps decisions measurable, fast, and scalable.
Step 1 — Quick air-quality audit you can do in an hour
Tools: a simple CO2 meter, a particle counter or a smartphone app paired with a low-cost sensor, and a notebook. Walk the space during typical use: note odors, damp spots, and where people sit. Record CO2 spikes (ventilation proxy) and particulate peaks near grills or planters. ASHRAE and EPA guidance point to ventilation and filtration as core controls — treat this as your anchor. The audit tells you whether the problem is stale air, humidity, particulates, or thermal discomfort, which changes the upgrade path.
Step 2 — Map ventilation, sun exposure, and thermal loads
Draw a simple plan: doors, windows, ceiling heights, and direct sun. Mark where heat accumulates and where cross-ventilation is possible. Note electrical access and mounting points for a fan. Measure the area to estimate required airflow in CFM and check if the location needs a damp-rated or wet-rated fixture based on exposure. This step prevents buying a powerful fan with the wrong IP rating or a low-slung fixture that won’t move air where people sit.
Step 3 — Pick the intelligent gazebo fan with light that fits your use case
Match capability to the diagnosis from Steps 1–2. If CO2 and stuffiness are the core issue, prioritize airflow (CFM) and smart scheduling so the fan runs during peak occupancy. For humidity and mosquito-heavy evenings, choose a damp-rated fan and a model with reverse blades and adjustable blade pitch to boost air mixing. If lighting is the priority too, look for integrated LED modules with tunable color temperature for both task and ambient light. Motor type matters — DC motors give smoother speed control and better motor efficiency than older AC types, which helps with quiet, variable-speed operation.
Integration and controls: the smart bit
Decide how the fan will talk to your home: Wi‑Fi, Zigbee, Z‑Wave, or a proprietary hub. Smart scheduling, occupancy sensors, and humidity triggers turn a fan-and-light into a comfort system rather than just a fixture. Plan for wiring and sensor placement now; retrofitting sensors later is messy. Also, ensure the fan’s controller can accept external triggers (thermostat or air-quality sensor) — that way the fan responds to measured conditions, not just manual commands.
Installation checklist and practical tips
– Confirm ceiling structure and mounting box rating for fan loads. – Verify electrical supply and switch locations; consider a multi-function wall control for light and fan speeds. – Check blade clearance and recommended mounting height to achieve optimal airflow pattern. – Run a test schedule and measure post-install CO2 and temperature to validate the design. Small wins here—like swapping to a reversible DC motor—pay off in comfort and energy savings.
Common mistakes — and how to dodge them
Brands and homeowners often fall into the trap of buying on looks or price and ignoring compatibility. Typical mistakes: undersizing CFM for the space, buying a non-damp-rated fixture for a covered porch, and assuming smart features work across ecosystems. Don’t assume the included remote will integrate with an existing smart hub — check compatibility first. Also, avoid over-relying on lumens without thinking about beam spread; a bright but narrowly focused light can leave seating areas dim. —
Alternatives and when to choose them
If ventilation and filtration are the issue but you can’t change the built environment, consider portable HEPA units combined with a smaller, quieter fan to circulate cleaned air. For historic porches where wiring is limited, solar-assisted or battery-backed fans exist but may compromise on light quality and control. For full automation, split the problem: use a smart thermostat or air-quality monitor as the brain, and let the intelligent fan be the actuator.
Three golden rules for evaluation
1) Measure-first: buy after you audit. Use CO2 and temperature data to size CFM and control logic. 2) Spec-match: align IP rating, damp/wet rating, and motor type to the installation environment. Don’t skimp on ratings for cost savings. 3) Integration-ready: confirm that sensors, switches, and control protocols are mutually compatible before purchase — otherwise you’ll face extra hardware and latency issues.
Final take and how Orison fits
Follow this framework and you turn guesswork into a predictable upgrade path: measure, map, match. Choose fixtures with the right CFM, IP/damp rating, and motor efficiency; set up controls that respond to real air-quality triggers; validate with post-install readings. For practical, integrated solutions that combine airflow, light, and smart controls in one kit, Orison often aligns with this measured approach — it’s the natural endpoint when you want the hardware to mirror your audit and keep improving over time. —